Judul : Freeform Gradients in Illustrator CC 2019
link : Freeform Gradients in Illustrator CC 2019
Freeform Gradients in Illustrator CC 2019
One of the new features in Illustrator CC 2019 is named Freeform Gradients. The new Freeform Gradients allow you to create natural and photo-realistic gradients. Gradients can be created using points or lines. All you need to do is to click on the canvas to add points which can be moved and adjusted. The best part is easy to use what makes this feature even better and more useful for anyone from beginners to experts.
How to create and use Freeform Gradients
The best part of Freeform Gradients is in easy to create and customize. Here are the steps:Step 1 Activate the Gradient Tool (G) in the Toolbox.
 |
| The very first step is to activate the Gradient tool from Toolbox or using keyboard shortcut letter G. |
Step 2 In the Properties panel, Gradient panel or in the Options bar click on the third icon listed under Type: / Gradient Type to activate Freeform Gradient.
 |
| Freeform Gradient can be activated by clicking on the third icon under Gradient Type. |
Step 3 When the Freeform Gradient is active you will see two additional options: Points and Lines. Use Point type to shade areas around individual points. Use Lines type to shade areas around the line which you will draw by adding points.
 |
| When Freeform Gradient is activated you will see additional options below gradient icons: Points and Lines. |
Step 4 Click on an object anywhere to add a color stop. Note: Freeform gradients are available only for fills while Linear and Radial gradients are available for fills and strokes. When adding new stops the previous color will be used.
 |
| To add gradient point just click anywhere inside the object. |
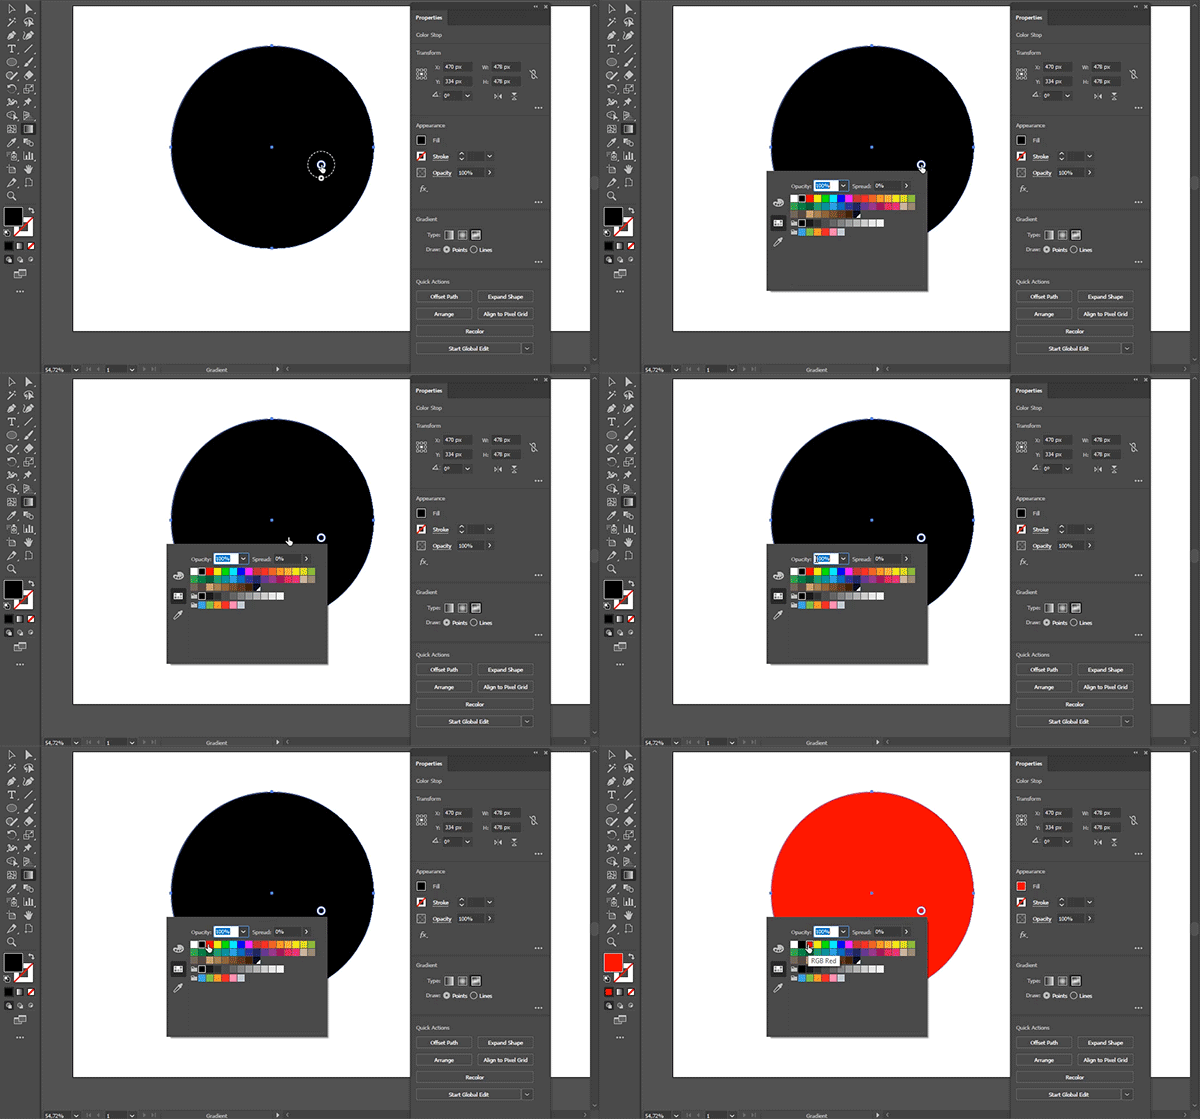
Step 5 Double-click on color stop to edit color. Choose a color using Color, Swatches or Color Picker to sample color anywhere on the canvas. To close color picker dialog use Escape or Enter keys.
 |
| To change stop color you can double-click on it to bring context menu with several options to selecta /pick color. |
Step 6 To move color stop click and drag it.
 |
| To move color stop just click using left mouse button and drag to a new position. |
Step 7 To delete color stop drag it outside the object or select color stop then press Delete key on your keyboard. Another way is to click trash icon in the Gradient panel with color stop selected.
 |
| One way to delete color stop is to drag it outside of object area. |
Step 8 To set spread use Properties panel or navigate mouse over a point to appear dotted line. Click on annotator and drag.
 |
| One way to change spread is using mouse: navigate over color stop to see dotted lines then click and drag. |
Step 9 To copy the Freeform gradient from one object to another use Eyedropper tool.
 |
| If you want to copy Freeform Gradient to some other object then use Eyedropper tool for that purpose. |
Product used in this tutorial:
Adobe Illustrator CC 2019
Reference:
What's new in Illustrator CC
Gradients
Demikianlah Artikel Freeform Gradients in Illustrator CC 2019
Sekianlah artikel Freeform Gradients in Illustrator CC 2019 kali ini, mudah-mudahan bisa memberi manfaat untuk anda semua. baiklah, sampai jumpa di postingan artikel lainnya.
Anda sekarang membaca artikel Freeform Gradients in Illustrator CC 2019 dengan alamat link https://hyber-edukasi.blogspot.com/2018/12/freeform-gradients-in-illustrator-cc.html

0 Response to "Freeform Gradients in Illustrator CC 2019"
Posting Komentar